
Hmmm….Talk about laziness. I made these adorable little Sunflower Cupcakes for our anniversary! Yup…our anniversary which is way back in April! April 26th to be exact, and I am just now getting around to posting about it. Oh well, better late than never I suppose and I definitely wanted to share the recipe for these little gems with you. I Love, Love, LOVE cupcakes. I’m sure that comes as no surprize to anyone who has been following my blog for any time now. Indeed I love them so much that when my husband and I were married, 4 years ago now, we decided to forego the traditional wedding cake and have a tower of sunflower cupcakes instead.


So I thought I’d do up my own version of sunflower cupcakes for this year’s anniversary. Mine looked a bit more rustic than our wedding version. But on the plus side, I did not use fondant at all, but my all time favourite frosting, Swiss Meringue Buttercream. And the center of my cupcake sunflowers was an Oreo cookie!

Who doesn’t love Oreos?!! If there are some Oreo haters out there, which I simply can’t imagine, but then again folks never cease to amaze me, you could sub out the cookie for a bit of chocolate frosting with some chocolate sprinkles or mini chocolate chips sprinkled over top of it for texture. We were quite pleased with the Oreos. It was like having a cupcake and a cookie all at once, which is a definite win if you ask me.

Every year we dream about spending our anniversary in some exotic locale. It never seems to work out that way for some reason or another. Though to our credit we did actually manage to get away from home this year. We went off to a lovely little cabin retreat in Fayetteville West Virginia.
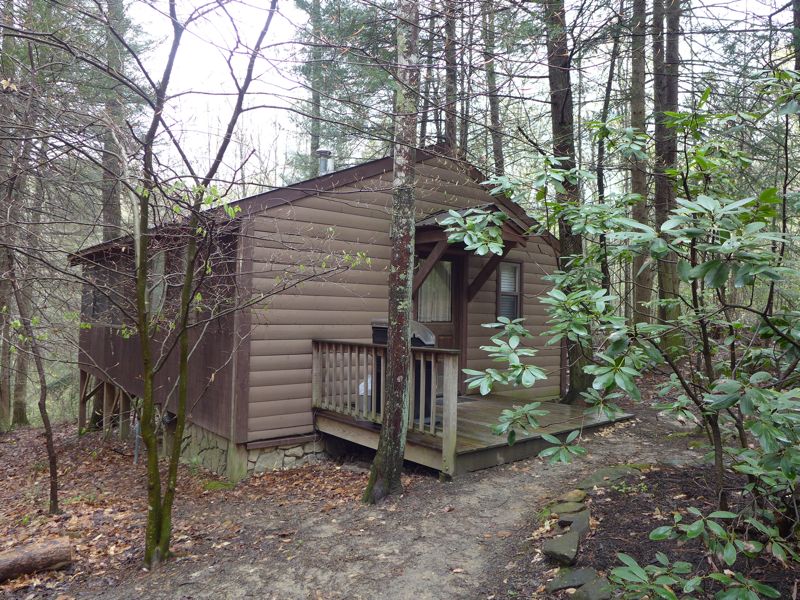
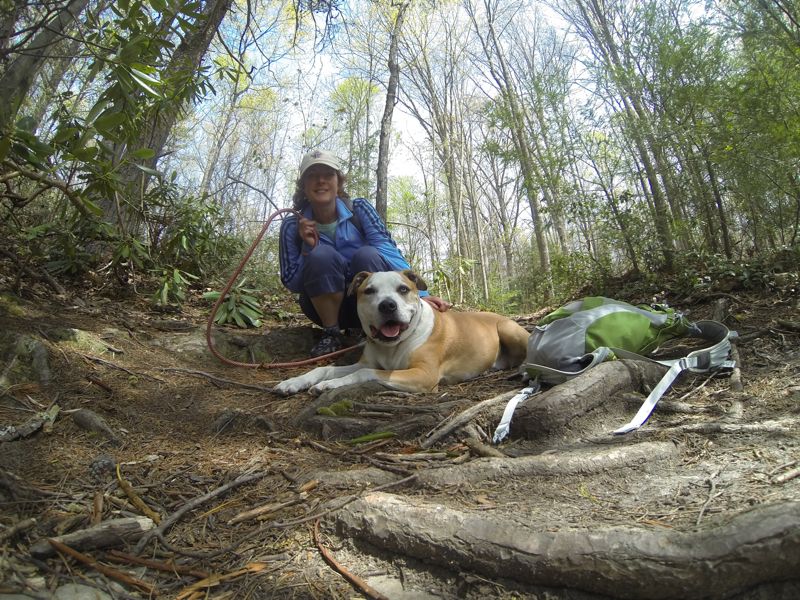
I know I’ve blogged about Fayetteville before, but I just adore the place. It has an abundance of hiking trails with drop dead gorgeous views.


And although it is a pretty tiny town, it has several top-notch restaurants. I know I’ve mentioned Diogi’s before, which is our all time favourite Mexican Restaurant. Pies and Pints serves up stunning handmade pizzas and plenty of delicious craft beer to wash it down with. And this year we visited the Secret Sandwich Society for the first time. Let me tell you, it completely knocked our socks off! After a long day of hiking we were able to relax out on their breezy deck with some unbelievably tasty sandwiches served up with homemade ketchup and pickles…oh and perhaps a couple or four or so bottles of beer.

And although we are always sad to leave, we are consoled somewhat by our usual stop by Tudor’s Biscuit World for some ginormous breakfast biscuits on our way out-of-town. That’s right! A veritable WORLD of biscuits. And when I say ginormous, I am not exaggerating. Basically you have a huge biscuit wrapped around hefty portions of egg and sausage with a serving of hash browns thrown on top as well!

You can hardly get your mouth around this monster! It is a wonder I can get my husband, or puppy, to leave that town at all! (see all of our Fayetteville Photos here)

But back to my adorable Sunflower Cupcakes. I won’t fib to you, these guys took a bit of work.

The baking of the cake part was easy and tasted superb. The vanilla bean really shined through. Though I suppose if you are a fan of chocolate cupcakes, you could substitute your favourite recipe in here. The dark colour of a chocolate cupcake base would look a whole lot more like dirt, but I really like vanilla cupcakes and they were for my anniversary, so decided to indulge myself here. It was the decorating of the cupcakes that was a bit time-consuming and fiddly. Let me just say M&M’s are pretty small, as if you weren’t aware of that fact, and getting those lady bug spots on them was really interesting. Not to mention it took me a little bit of practicing with the Wilton tip #352 to get those flower petals done properly.

A little patience goes a long way here. I’d recommend doing things in an assembly line sort of way. You know, all the lady bug spots, stick all the Oreos on the center of the cakes, then pipe all the sunflower petals on, then perch all of the lady bugs up on top. Get some good tunes queued up and the time will go by pretty fast. That is if you don’t get pastry bag induced carpal tunnel syndrome in your hand by the end of it. But they were so worth it! Not only a visual delight but also really delicious and reminiscent of our wedding day as well. They went along famously with our Veuve, but then what wouldn’t?!! Just perfect for our 4th anniversary! Keep your fingers crossed for us for next year’s travel plans…I’m eyeing St. Petersburg, Russia or maybe Positano, Italy. Any suggestions?

Sunflower Cupcakes
recipe adapted from: Damn Delicious (for the cupcakes) Runcible Eats (for the frosting)
yield: 21 Cupcakes
Ingredients:
for the cupcakes:
- 1 1/4 cups all-purpose flour
- 1 cup cake flour
- 1 teaspoon baking powder
- 1/2 teaspoon baking soda
- 1/2 teaspoon kosher salt
- 1/2 cup milk
- 1 cup sour cream
- 4 large egg whites, at room temperature
- 1/2 cup (1 stick) unsalted butter, at room temperature
- 1 1/3 cups sugar
- 1 vanilla bean, seeds scraped
- 2 teaspoons pure vanilla extract
for the frosting:
- 5 Large Egg Whites
- 1 1/2 Cups Sugar
- 2 Cups (4 sticks) Butter, cut into 1/2 inch cubes, cool but not cold
- 1/4 tsp Salt
Directions:
For the cakes:
Preheat oven to 375°F. Line two 12-cup standard muffin tins with paper liners; set aside.
In a large bowl, combine flours, baking powder, baking soda and salt.
In a medium bowl, whisk together milk, sour cream and egg whites.
In the bowl of an electric mixer fitted with paddle attachment, beat butter, sugar and vanilla bean seeds on medium speed until light and fluffy, about 2-3 minutes. Beat in vanilla until well combined. With mixer on low speed, add dry ingredients and sour cream mixture alternately in 3 parts, beginning and ending with dry ingredients, beating just until incorporated.
Scoop the batter evenly into the muffin tray. Place into oven and bake for 15-18 minutes, or until a tester inserted in center comes out clean. Remove from oven and cool completely on a wire rack before frosting.
For the frosting:
Now for the frosting. In a medium bowl, whisk the egg whites and sugar together. Set the bowl over a pan of simmering water but do not let the water touch the bottom of the bowl. Heat the mixture until the sugar is completely dissolved and the color is milky white, about 2-3 minutes.
Transfer the egg mixture to the bowl of an electric mixer fitted with the whisk attachment, and beat on medium-high speed (start slowly at first) until smooth and fluffy, about 5 minutes. Remove the whisk attachment and replace with the paddle attachment. Add the cubed butter and beat on medium-high speed (start slowly at first) until smooth and fluffy, about 5 minutes. If the buttercream looks like it is breaking, don’t worry, it will eventually come together.
Add the salt and beat for 5 seconds to combine. Add food coloring to frosting until desired shade of yellow is reached. I used Wilton’s Gel food coloring in the Lemon Yellow shade.
Place frosting in piping bag with a Wilton #352 tip attached.
Cupcake Assembly:
Set out 11 Oreo cookies. Carefully pull each cookie apart, like you may have done when you were a kid, taking care not to break either cookie half.
Pick red M&M’s out from bag and set aside. Using chocolate decorator’s frosting pipe on a little head, line down the center of the back and a few spots on either side of the line to turn each M&M into a lady bug. I have also seen this bug decoration done with black food colouring and a small paint brush.
Pipe frosting around the underside edge of cookie half and place in the center of the cupcake. Pipe petals of frosting going from the edge of the cookie out to the edge of the cupcake. Place the petals right next to each other. Once one row of petals is done, add a second row slightly off-set from the first.
Put a little dot of frosting on the underside of each ladybug M&M and stick it on top of each flower.
Enjoy!


 Posted by liadh1


